
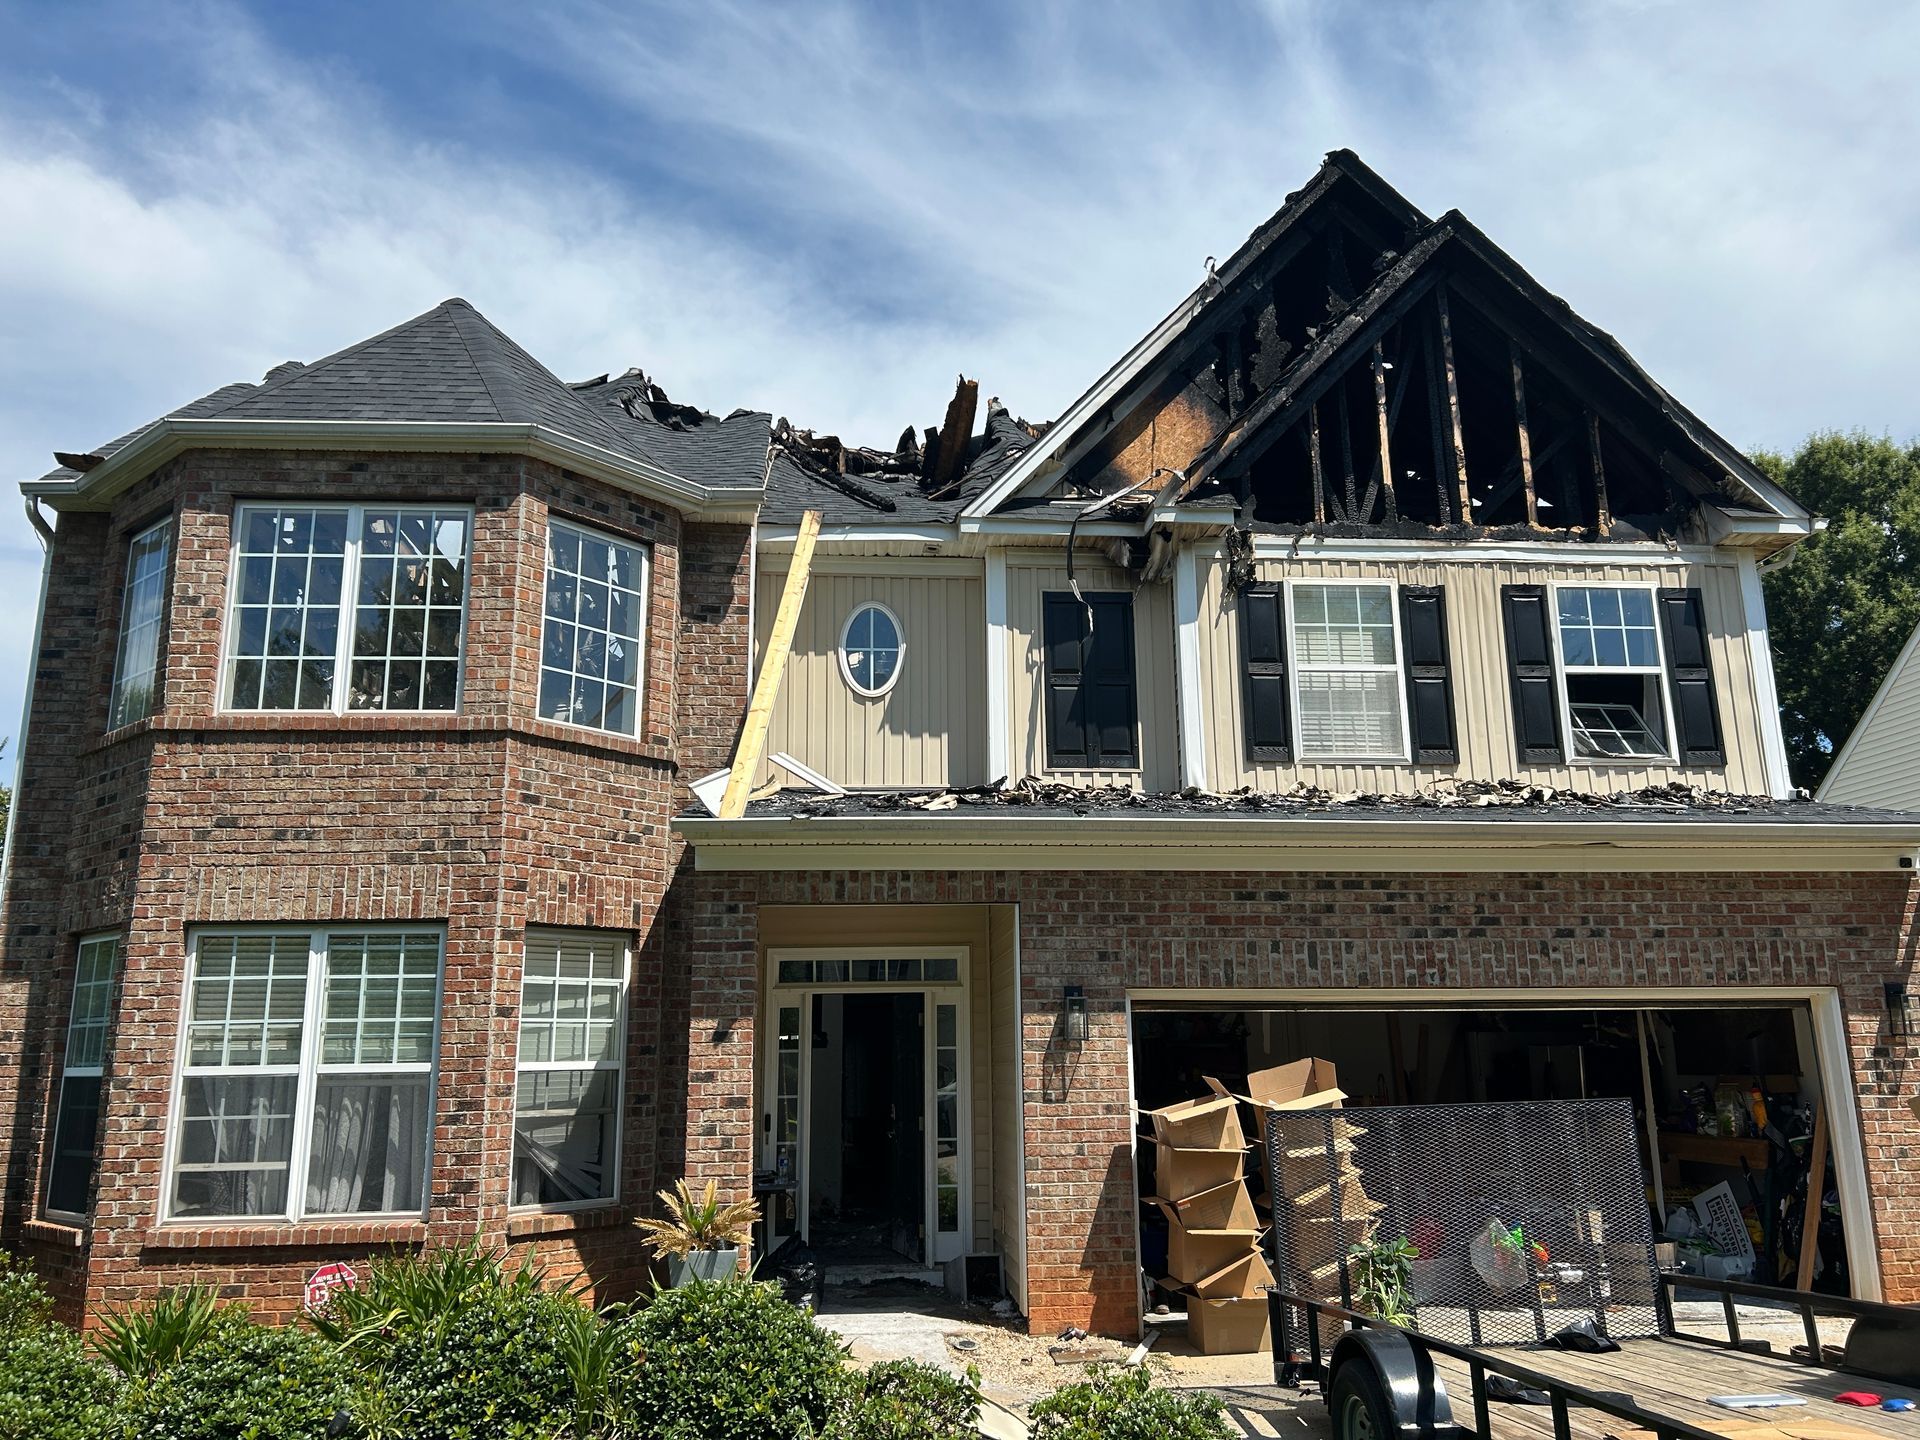
What to Expect After a Fire

October is Fire Prevention Month, making it the perfect time to review your fire safety practices and make sure you have a plan in place in case of an emergency. While smoke alarms, fire extinguishers, and other safety equipment are important, knowing how to get out of a building safely during a fire is just as critical. A fire can spread quickly, leaving little time to decide what to do. Having a clear evacuation plan helps ensure that your family, employees, customers, and visitors know where to go and what actions to take when every second matters. At Emergency Restoration Xperts (ERX), we understand how devastating a fire can be for a home or business. That's why we're sharing this guide to help you create, practice, and maintain an effective fire evacuation plan. 1. Identify Multiple Escape Routes The first step in creating a fire evacuation plan is identifying how everyone can safely exit your property. Every room should have at least two possible ways to escape when feasible, such as a door and an accessible window. When planning your escape routes: Identify all doors and windows that can serve as exits. Make sure windows and doors open easily and are not blocked by furniture or other objects. Keep hallways, stairways, and exit doors clear of clutter. Know where emergency exits are located in your workplace. Identify alternative routes in case fire or smoke blocks your primary exit. For homes with multiple floors, plan how everyone will escape from upper levels. If bedrooms are located above the ground floor, consider whether an approved emergency escape ladder is appropriate and ensure occupants know how to use it safely. For commercial properties, make sure employees and visitors can identify marked exits and that exit routes remain accessible and unobstructed. ERX Tip: Walk through your property and physically follow each planned escape route. A route that looks clear on paper may present obstacles in an actual emergency. 2. Establish a Designated Outdoor Meeting Place Once everyone has exited the building, it's important to know where to meet. Choose a designated outdoor meeting location a safe distance from the building and away from emergency vehicle access routes. Your meeting place should be: Easy for everyone to identify. Far enough away from the building to avoid immediate fire-related hazards. Accessible to children, older adults, and individuals who may need assistance. Known to everyone who lives in the home or regularly works in the building. For businesses, a designated assembly area helps managers and emergency responders determine whether employees and visitors have evacuated. Once outside, account for everyone and notify firefighters if someone is missing or may still be inside. Never re-enter a burning building to search for someone or retrieve personal belongings. 3. Test Smoke Alarms and Fire Safety Equipment Early warning can make a significant difference during a fire. Smoke alarms provide an alert that can help occupants begin evacuating before conditions become dangerous. To maintain your fire safety equipment: Install smoke alarms inside every bedroom, outside each separate sleeping area, and on every level of the home, including the basement. Test smoke alarms monthly and follow the manufacturer's instructions for battery replacement and maintenance. Replace smoke alarms according to the manufacturer's recommendations, generally when they reach 10 years of age. Make sure everyone recognizes the sound of the alarm. For businesses, routinely inspect fire alarm systems, emergency lighting, exit signs, and other required safety equipment according to applicable codes and maintenance schedules. Fire extinguishers should also be properly maintained and kept visible and accessible. However, using an extinguisher should never delay evacuation. Only attempt to extinguish a small, contained fire if you are trained, have the correct extinguisher, and have a clear escape route. 4. Create a Plan for Children, Pets, and People Who Need Assistance Not everyone can evacuate in the same way. Your plan should account for the specific needs of everyone who may be inside your property. For households: Teach children how to recognize smoke alarms and leave the building without stopping to collect belongings. Show children how to call 911 and provide their location. Identify adults who can assist young children or family members who need additional help. Include pets in your evacuation preparations, but never delay escaping to search for a hidden animal. For businesses: Establish clear procedures for assisting individuals with disabilities or mobility limitations. Identify employees responsible for helping with evacuation when appropriate. Ensure accessible evacuation routes and procedures are addressed in advance. Communicate the plan to employees, contractors, and other relevant occupants. The goal is to make sure everyone understands their role and can evacuate as safely as possible. 5. Practice Your Evacuation Plan Regularly Having an evacuation plan is only the first step. Everyone needs to understand how to follow it, especially when panic, smoke, or poor visibility makes it difficult to think clearly. For homes, practice your fire escape plan at least twice a year. Walk through the escape routes with everyone in the household, including children, and make sure everyone can find the designated meeting place. For businesses, conduct evacuation drills at appropriate intervals and in accordance with applicable requirements. Make sure employees understand alarm procedures, exit locations, assembly areas, and how to report missing individuals. During practice: Start from different rooms or locations. Review alternate exits. Make sure everyone knows to leave belongings behind. Reinforce that elevators should not be used during a fire unless specifically designated for emergency evacuation under an approved procedure. Discuss any obstacles or confusion and update the plan as needed. Regular practice helps make evacuation procedures more familiar and reduces uncertainty during an actual emergency. 6. Know What to Do When a Fire Breaks Out If you discover a fire or your smoke alarm sounds, your priority should be getting everyone out safely. Follow these essential steps: 1. Alert others. Warn people nearby and activate the fire alarm if one is available and it is safe to do so. 2. Evacuate immediately. Follow your planned escape route. Do not stop to collect valuables, electronics, or other belongings. 3. Stay low if smoke is present. Smoke and hot gases can make breathing difficult and reduce visibility. If your route is filled with smoke or fire, use an alternative escape route if safe. 4. Close doors behind you when possible. Closing doors as you leave can help slow the spread of smoke and fire, but never delay your escape to do so. 5. Call 911 from a safe location. Give the dispatcher your address, explain what happened, and report anyone who may be trapped inside. 6. Stay outside. Once you reach your meeting place, remain there and follow instructions from emergency responders. Never re-enter the building until authorities say it is safe. If you cannot escape safely, get behind a closed door in a room away from the fire if possible, call 911, and communicate your location to emergency responders. Follow their instructions. 7. Keep Your Evacuation Routes Clear Year-Round An evacuation plan can fail if the routes are blocked. Make it a habit to check your property regularly for anything that could prevent a quick exit. At home, avoid storing boxes, furniture, or other belongings in hallways and near doors. Keep windows designated as escape routes functional and accessible. At work, ensure exit corridors, stairwells, emergency doors, and designated escape paths remain clear. Storage areas should never interfere with access to required exits or fire safety equipment. Businesses should also review evacuation procedures whenever floor plans change, new equipment is installed, or employees move into different work areas. 8. Review and Update Your Plan Your evacuation plan should change as your household or business changes. New family members, renovations, changes to office layouts, and updated safety requirements may all affect how people can exit safely. Review your plan at least annually and after significant changes to your property or occupancy. Make sure new employees and household members know the procedures and understand where to go during an emergency. For businesses, keep evacuation instructions readily available and ensure designated personnel know their responsibilities. Preparation is most effective when your plan reflects the property as it exists today, not how it looked when the plan was first created. Protect Your Property Before and After a Fire Fire prevention and evacuation planning are essential parts of protecting your home or business. Taking time to identify escape routes, test alarms, designate a meeting place, and practice your plan can help everyone respond more confidently in an emergency. However, even when safety precautions are in place, fires can still happen. Once everyone is safely out and emergency responders have addressed the immediate danger, property owners may face smoke damage, soot, water damage from firefighting efforts, and damage to building materials and belongings. Emergency Restoration Xperts (ERX) helps property owners navigate the restoration process after fire-related damage. Whether you own a home or manage a commercial property, addressing fire, smoke, and water damage promptly can help prevent additional problems and move your property toward recovery.
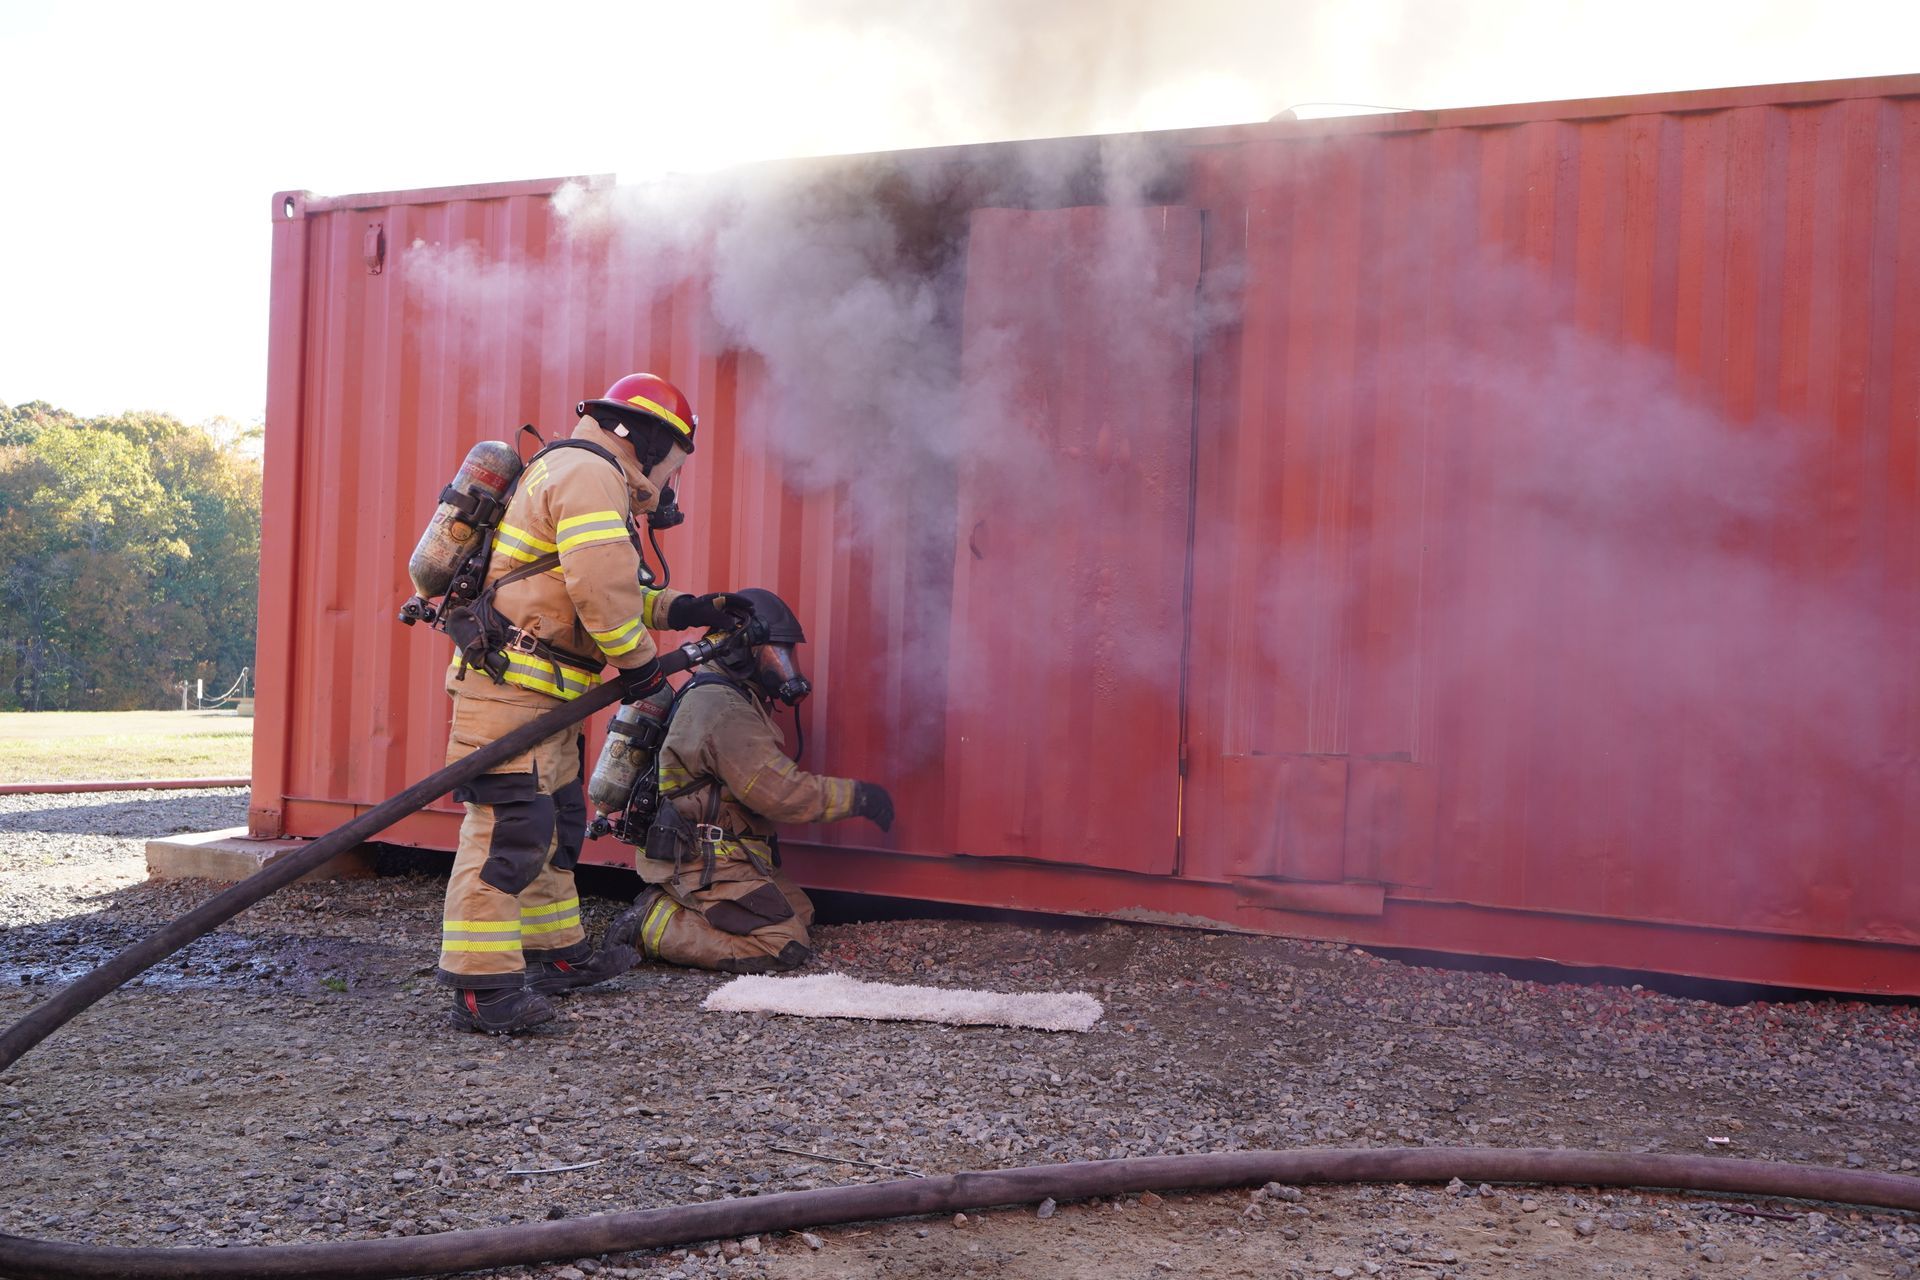
October is Fire Prevention Month,